
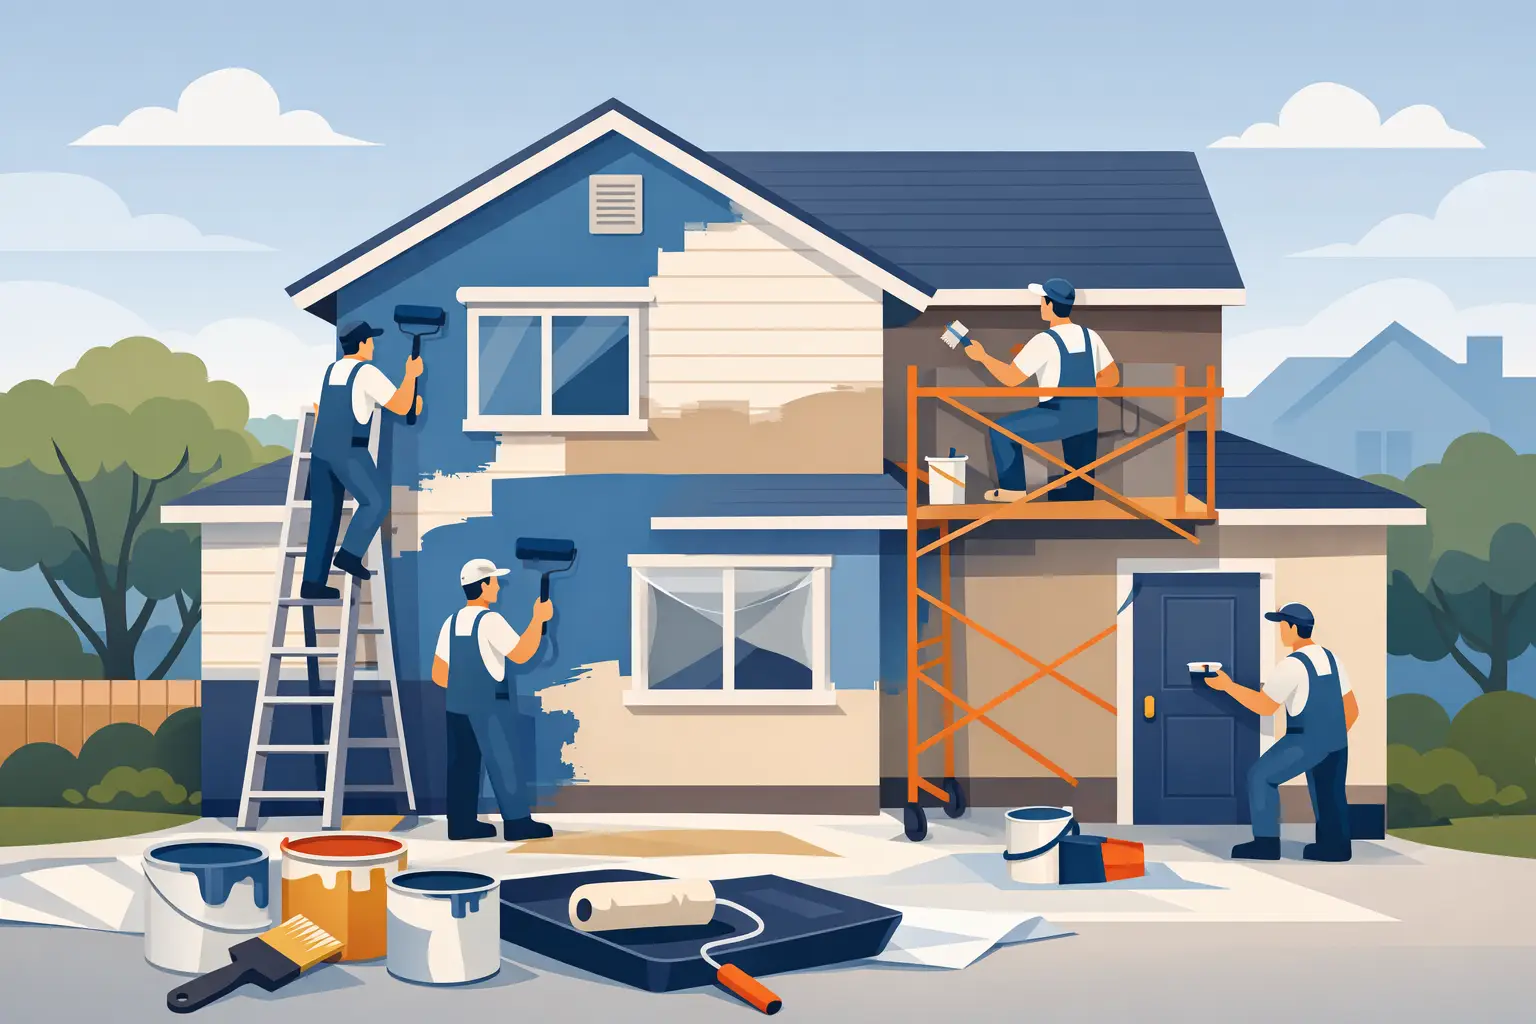
A good repaint is won before the first coat goes on. If you want the residential repainting process step by step, the short version is simple: inspect properly, prepare thoroughly, use the right products, and don’t rush the finishing stages. That is what separates a paint job that still looks sharp years later from one that starts showing flaws after a single summer.
For homeowners, landlords, and property managers, repainting is rarely just about making a place look fresher. It is often about protecting surfaces, covering wear and tear, fixing damaged areas, and getting the property ready for living, leasing, or sale. The process can vary a bit between an interior repaint, an exterior refresh, or a full home makeover, but the principles stay the same. No shortcuts, proper prep, and a finish that holds up.
Residential repainting process step by step
Step 1: Start with a proper inspection
Every solid repaint begins with a close look at the surfaces. This is where peeling paint, hairline cracks, water marks, mould, flaking render, dents in plaster, timber movement, and previous patch repairs all come to light. If those issues are painted over instead of repaired, they almost always come back through the new finish.
Inside the home, the inspection usually focuses on walls, ceilings, trims, doors, cabinets, and any high-traffic areas that collect scuffs and grime. Outside, attention shifts to weather exposure, sun damage, chalky paint, rust on metal, loose caulking, gaps around windows, and timber that may need more than a standard repaint.
This stage also helps determine whether a straight repaint is enough or whether the job needs wall repairs, render patching, timber treatment, or a full strip-back in problem areas. That matters for both budget and timeline.
Step 2: Choose colours and finishes that suit the property
Colour selection sounds like the easy part, but it can change the whole result. A shade that looks good on a paint chart can feel too dark in a south-facing room or too bright on an exterior wall under Adelaide sun. Finish matters just as much. Flat finishes can hide minor wall imperfections, while low sheen or semi-gloss can be easier to clean in busy areas.
For rental properties, practical usually wins. Neutral colours tend to suit a wider range of tenants and are easier to maintain between leases. For owner-occupied homes, there is often more room to personalise, but durability should still guide the decision. Kitchens, bathrooms, laundries, and exterior timber all need products suited to those conditions.
A repaint is also the right time to think about consistency across the property. Fresh walls can make tired trims stand out, and a new exterior colour can highlight old gutters or faded garage doors. Sometimes the best result comes from repainting connected elements together rather than doing one section in isolation.
Step 3: Protect the site before preparation starts
Before sanding, patching, or washing begins, the work area needs to be protected. Indoors, that means moving furniture where possible, covering floors, masking trims, and keeping dust and paint off surfaces that are not being painted. Outdoors, it can involve covering decks, pavers, plants, outdoor furniture, and nearby fittings.
This part often gets overlooked by people focused only on the final colour, but it is a big part of a professional job. A tidy worksite keeps the property safer, reduces mess, and avoids unnecessary damage. It also makes the repaint less disruptive for the people living in or managing the home.
Step 4: Clean the surfaces properly
Paint sticks best to clean, sound surfaces. On interior jobs, walls and ceilings may need washing to remove dust, cooking residue, smoke staining, and general grime. In bathrooms and laundries, mould treatment may be needed before any coating work starts.
For exteriors, cleaning can be more involved. Dirt, cobwebs, salt, mildew, chalking, and loose paint all need to be dealt with. Depending on the substrate, this may involve pressure cleaning, scrubbing by hand, or both. The key is not just making the place look cleaner. It is creating a surface the new paint can bond to.
Skipping this stage is one of the quickest ways to shorten the life of a repaint.
What happens before painting starts
Step 5: Repair and prepare the surface
This is the stage that does the heavy lifting. Cracks are filled, dents are patched, gaps are caulked, flaking sections are scraped back, glossy surfaces are sanded, and rough areas are smoothed out. Timber may need sanding and filling. Metal may need rust treatment. Render or masonry may need stabilising before it can be coated.
On older homes, this step can take longer than expected because the condition underneath the existing paint is not always obvious until work begins. That is normal. It is better to spend extra time here than to apply premium paint over a surface that is still failing.
Good preparation is also what gives a finished repaint that clean, even look. You notice it around corners, along trim lines, across patched walls, and under natural light. A rushed prep job tends to show every defect once the paint dries.
Step 6: Prime where needed
Not every surface needs a full prime coat, but many do. New plaster, bare timber, repaired patches, stained areas, raw render, and problem spots often need a suitable primer or sealer before top coats go on. Without it, the finish can absorb unevenly, flash in patched sections, or fail to bond properly.
Priming is also where product choice matters. The right primer for masonry is not the same as the right one for cabinetry, metal, or timber trim. A proper repaint system is built in layers, with each product doing its job.
This is one of those parts of the process that people rarely see once the work is complete, but it makes a real difference to how the job performs over time.
Step 7: Apply the paint in the right order
Once the surfaces are clean, repaired, and primed, painting can begin. The usual order indoors is ceilings first, then walls, then trims, doors, and finer detail work. Exteriors are often approached in sections, working around weather conditions, drying times, and access.
Cutting in and rolling need to be consistent to avoid lap marks, patchiness, and uneven texture. Most quality repaints require at least two coats for proper coverage and durability, though darker colours, porous surfaces, or major colour changes can sometimes need more.
Drying time matters here. Putting the second coat on too early can affect the finish, especially in cooler or humid conditions. On the other hand, leaving too long between stages in dusty conditions can create its own problems. This is where experience pays off. The process is not just about following a paint tin. It is about reading the site and adjusting as needed.
Residential repainting step by step for interiors and exteriors
Interior repaints
Inside the home, neatness and minimal disruption are often the biggest concerns. Families still need to move through the house, furniture may need shifting in stages, and rooms like kitchens or bathrooms cannot always be out of action for long. Careful planning helps keep the job moving without turning daily life upside down.
Interior repainting also tends to show imperfections more clearly, especially in natural light. Wall repairs, sanding quality, and finish selection all matter. A matte wall can soften small flaws, while a higher sheen on trims can sharpen the overall look and make cleaning easier.
Exterior repaints
Outside, the paint system does more than improve street appeal. It acts as a barrier against sun, rain, moisture, and general weathering. That means preparation is often more demanding and product selection becomes even more important.
Adelaide conditions can be tough on exterior surfaces, particularly on western and northern sides of a home. Timber, render, brick, metal, and previously painted masonry can all behave differently, so a one-size-fits-all approach rarely gets the best outcome. Some homes only need a straightforward refresh. Others need more detailed surface restoration before repainting makes sense.
Step 8: Check the finish and handle touch-ups
Before the job is considered complete, the finish should be checked carefully. That includes looking for missed spots, light patches, paint bleed, rough sections, and any areas where repairs still show through. It is also the time to make sure lines are sharp, surfaces are even, and the result matches what was agreed from the start.
Touch-ups are a normal part of a professional repaint. They are not a sign something went wrong. They are part of making sure the final result is right.
Step 9: Clean up properly and leave the property ready to use
The last step matters more than many people expect. Drop sheets, tape, coverings, and rubbish should be removed, fittings put back where needed, and the home left clean and presentable. For landlords and agents, this is especially important when a property needs to go straight back on the market. For homeowners, it means being able to enjoy the result without dealing with leftover mess.
A proper repaint should feel complete, not half-finished with cleanup pushed onto the customer.
The truth is, repainting a home well is not complicated, but it is detailed. Every stage affects the next one, and the quality of the finish depends on the quality of the preparation behind it. If you want a result that looks good, lasts, and adds real value to the property, the best approach is the same every time – do the groundwork properly, use the right system, and treat the final coat as the last step, not the whole job.