
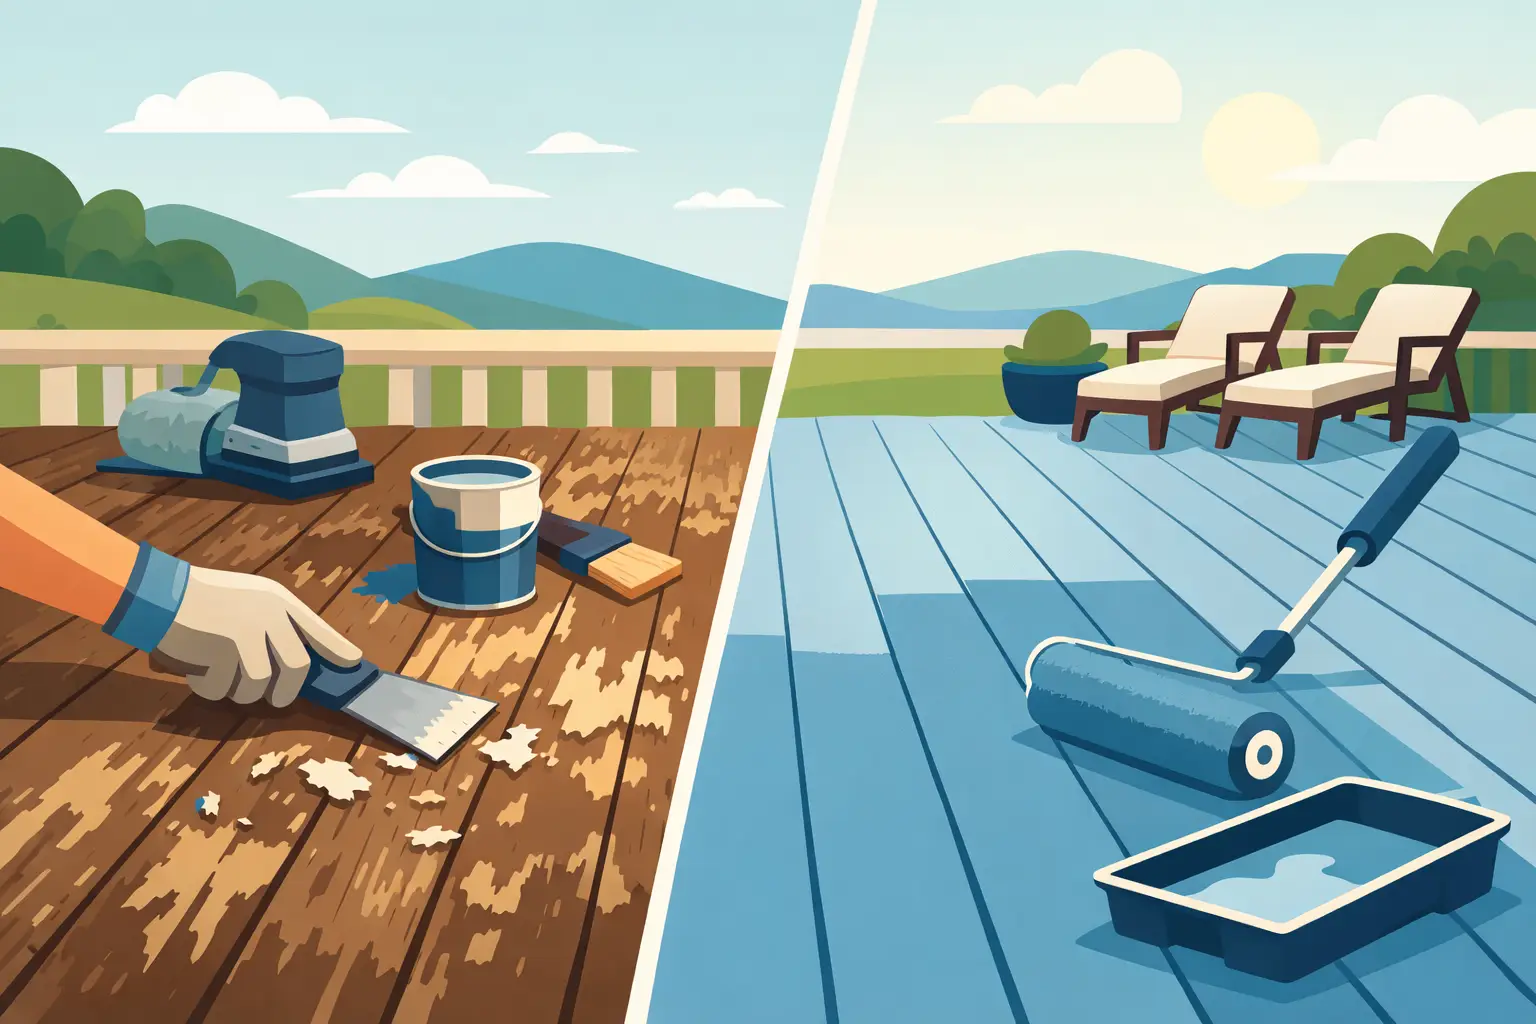
A painted deck can look tired long before the timber has reached the end of its life. Peeling coating, faded colour, bare traffic paths and rough boards are common after Adelaide summers and wet winters. Knowing how to restore painted deck surfaces properly means dealing with the cause of the failure, not simply brushing fresh paint over it.
A good restoration brings the deck back to a clean, safe and presentable finish while protecting the timber from moisture and harsh UV. The work is straightforward in principle, but preparation decides whether the new coating lasts a season or several years.
Start by checking what has failed
Walk across the deck slowly and inspect it in dry daylight. Look for paint that lifts at the edges, cracks between boards, soft or splintered timber, popped nails, loose screws and boards that flex underfoot. Pay close attention to the areas near garden beds, downpipes, pools and shaded walls. These spots often hold moisture and are where paint tends to fail first.
Not every worn deck needs a full strip. If the existing paint is sound across most of the surface and only a few areas have peeled, localised repairs and a full recoat may be the sensible option. If paint is lifting widely, several old coatings are cracking, or the deck has been painted with incompatible products over time, stripping back further is usually the better long-term choice.
For older properties, take care with unknown coatings. Paint applied decades ago may contain lead. Do not dry sand or scrape suspected lead paint without suitable precautions. A professional assessment is the safest way to handle it.
Choose the right day before you begin
Deck coatings need dry timber and stable weather. Avoid starting just after rain, when heavy dew is expected, or in the full heat of a scorching afternoon. A surface can feel dry underfoot while moisture remains in the boards, and sealing it in can cause blistering or early peeling.
In Adelaide, plan the work for a mild, dry stretch where the deck can stay clear of water during preparation and curing. Read the chosen product label carefully for temperature, humidity and recoating requirements. Those details are not fine print to ignore – they affect the finish.
Clean the deck thoroughly
Remove furniture, pots, mats and anything stored underneath the deck. Sweep away dirt, leaves and loose paint chips, then clean the surface with a deck cleaner suited to painted timber. This removes grime, oils, mould and chalky residue that can stop new coating from bonding properly.
A pressure washer can help, but it must be used with restraint. Excessive pressure or holding the nozzle too close can fur up timber fibres, gouge soft boards and force water deep into joints. For many painted decks, a stiff deck brush, cleaning solution and controlled rinsing will do a safer job.
Rinse thoroughly and allow the deck to dry completely. This is where rushed jobs often come undone. If the boards are still damp, wait. Applying coating to wet timber is a shortcut that costs more later.
Remove loose paint and smooth the edges
Once dry, scrape every section of loose, flaking or bubbling paint back to a firm edge. A sharp paint scraper is useful for broad peeling areas, while a detail scraper helps around balustrades, steps and board gaps. Do not leave loose edges because fresh paint will only hold onto the failing layer beneath it.
Sand the scraped sections to feather the transition between bare timber and intact paint. If the whole deck is heavily weathered, sanding the wider surface creates a more even finish and gives the new coating a better key. Start with a suitable medium grit for rough areas, then finish with a finer grit that leaves the surface smooth without polishing it slick.
Vacuum or sweep up sanding dust carefully. Dust left in board joints, around screw heads or along skirting can spoil an otherwise neat coat. A final wipe-down, following the coating manufacturer’s advice, helps ensure the surface is clean.
Repair timber before painting
Painting over damaged boards does not restore a deck. Replace timber that is soft, split through, badly cupped or rotten at the ends. Tighten loose screws and countersink any proud fixings so they do not catch bare feet or wear through the paint finish.
Small cracks and nail holes may be repairable with an exterior-grade timber filler, but filler has limits. It is not a substitute for a sound board, especially in high-traffic areas or spots exposed to regular moisture. Let repairs cure fully, then sand them level before priming.
This stage is also a good time to check drainage. Water should not sit on the deck after rain. Clearing blocked gaps between boards and fixing overflowing gutters or leaking downpipes can make more difference to coating life than an extra coat of paint.
Prime bare timber and repaired areas
Any exposed timber needs a compatible exterior primer before topcoating. Primer helps seal porous timber, improves adhesion and creates an even base so repaired patches do not show through the final finish.
Use a primer designed for exterior timber and compatible with the paint system you plan to use. Mixing products without checking compatibility can lead to wrinkling, poor adhesion or a finish that becomes brittle too quickly. Apply primer evenly to bare patches, board ends and repaired sections, then let it dry for the stated time.
If you have stripped the deck back extensively, priming the whole surface may give a more consistent result. The right approach depends on how much sound coating remains and the condition of the timber underneath.
Apply a deck coating made for foot traffic
A deck is not a wall. It needs a purpose-made exterior deck paint or coating that can handle foot traffic, movement in the timber, UV exposure and occasional wet weather. Standard exterior house paint may look acceptable initially, but it is not designed for the same wear.
Stir the coating thoroughly rather than shaking it, particularly if it contains anti-slip additives. Cut in neatly along walls, posts, edges and balustrades with a brush, then apply the main sections in the direction of the boards using a suitable roller or deck applicator. Work in manageable lengths and keep a wet edge to avoid lap marks.
Two thin coats are generally more durable than one heavy coat. Thick paint can skin over on top while remaining soft beneath, making it more likely to mark or peel. Allow proper drying time between coats, including longer waits if conditions are cool or humid.
Consider the finish as well as the colour. Dark colours can become very hot under Adelaide sun, while very pale colours can show dirt and scuffs quickly. A mid-tone grey, timber brown or muted charcoal is often practical, but the best choice depends on the home, surrounding paving and how the deck is used.
Let the coating cure before moving furniture back
Dry to touch is not the same as fully cured. Keep foot traffic light for the period recommended by the manufacturer and avoid replacing heavy outdoor settings, pot plants or barbecues too soon. Dragging furniture across fresh paint can leave marks that are difficult to blend in later.
Once cured, add protective feet to chairs and tables, and avoid rubber-backed mats that trap moisture against the coating. Regular sweeping and prompt cleaning of spills will help the surface stay looking sharp.
When a professional deck restoration is worth it
DIY restoration can work well on a small deck with sound timber and straightforward paint failure. It becomes more demanding when the deck has widespread peeling, damaged boards, difficult access, multiple levels, old coatings or extensive balustrades. The preparation can take considerably longer than the painting itself.
For landlords, agents and busy homeowners, professional preparation also reduces the risk of a patchy finish or a coating that fails early. Shine Painters Adelaide handles deck restoration with the same no-shortcuts approach used across exterior painting work: careful surface preparation, necessary repairs, suitable timber coatings and a tidy result built to last.
A restored deck should feel like part of the home again, not a job waiting for another weekend. Give the timber the preparation and drying time it needs, and the final coat has every chance of standing up to the seasons ahead.