
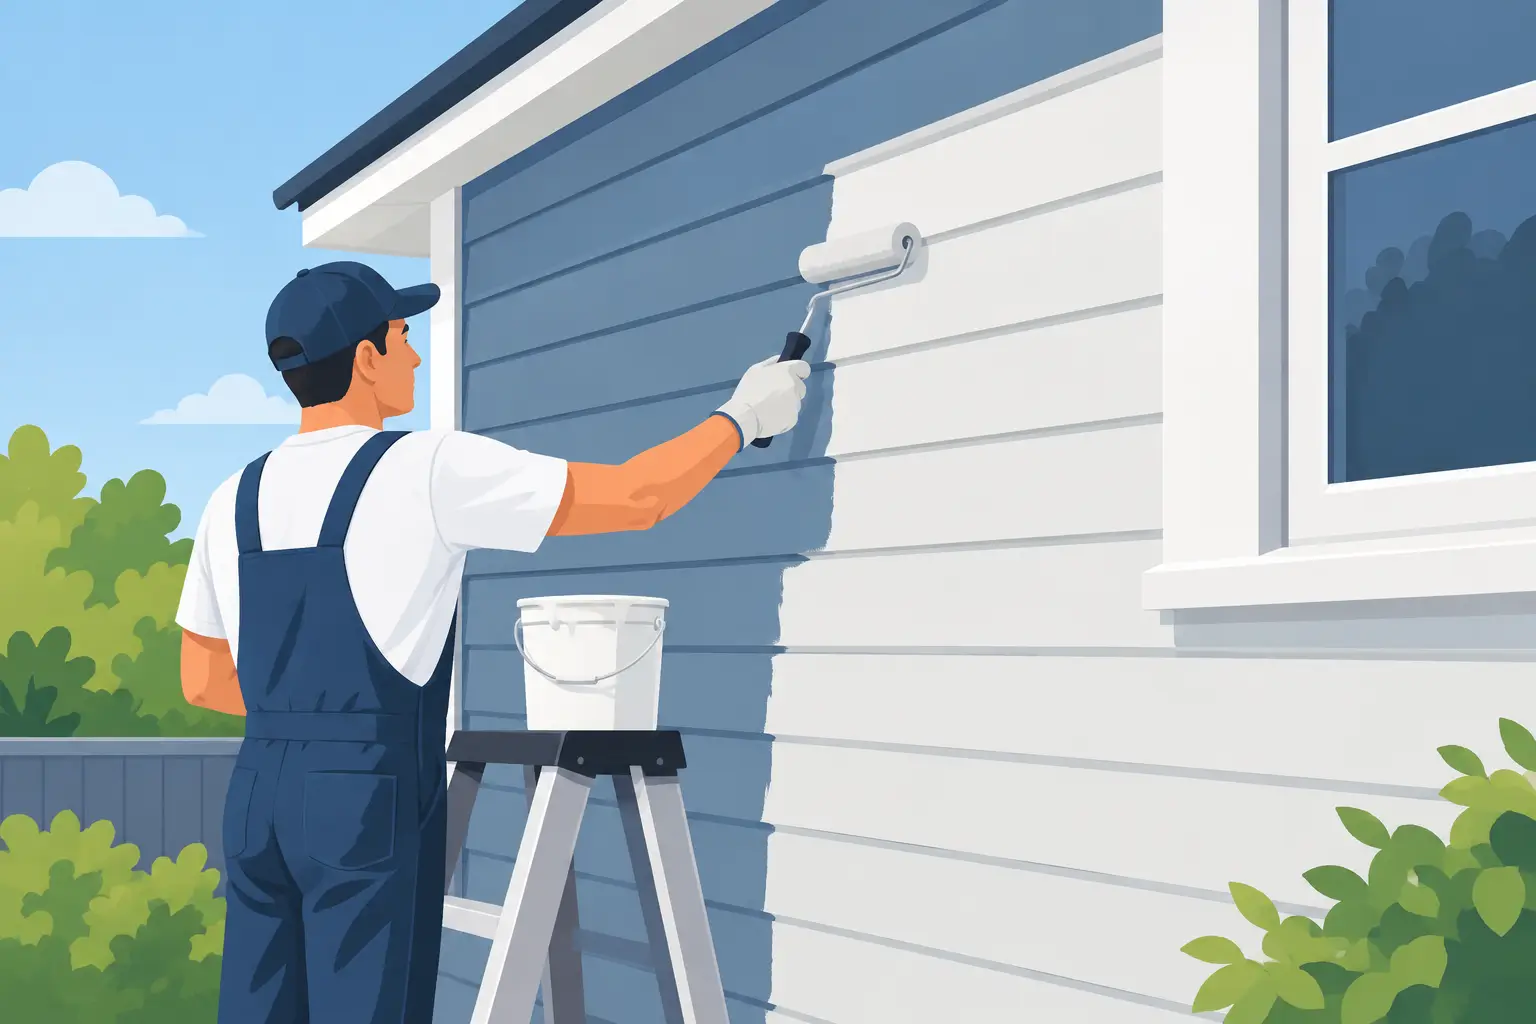
Peeling paint on weatherboards is rarely just a cosmetic problem. Once bare timber is exposed, Adelaide sun, wind and winter rain can drive moisture into the boards and turn a straightforward repaint into a larger repair job. Knowing how to repaint weatherboards properly means giving most of your attention to preparation, not rushing to open the paint tin.
A well-prepared exterior can look sharp and stay protected for years. A rushed one may start blistering, cracking or peeling within a season or two. The difference comes down to clean, sound timber, the right repairs, compatible products and enough drying time between coats.
Check the condition before repainting weatherboards
Walk around the building in good daylight and look closely at every elevation, particularly the sides that receive the harshest sun and weather. Faded paint is one thing. Flaking paint, soft timber, open joints and mould need attention before any new coating goes on.
Press a screwdriver gently into suspicious areas around window sills, board ends, corners, downpipes and low sections near garden beds. Timber that feels soft or crumbles should be repaired or replaced, not painted over. Paint protects weatherboards, but it cannot restore rotten timber.
Also look for the cause of the damage. Overflowing gutters, leaking downpipes, failed flashing and sprinklers regularly hitting the wall will keep creating problems, no matter how good the repaint is. Fix moisture issues first, then allow the area to dry thoroughly.
If your home is older and there is a chance the existing coating contains lead, do not dry sand or scrape it without proper controls. Lead paint needs careful handling to protect your household, neighbours and the surrounding soil. This is a job worth discussing with an experienced painting professional.
Choose a dry, workable weather window
Exterior painting depends heavily on weather conditions. Avoid painting in rain, strong winds, extreme heat or when the boards are hot to touch. Fresh paint can dry too quickly on a hot wall, making it harder to maintain an even finish and proper adhesion. Wind can also carry dust and debris straight onto wet paint.
Check the paint manufacturer’s recommended temperature range and drying times. In Adelaide, early starts are often sensible during warmer months, but do not begin so early that dew is still sitting on the boards. The timber must be clean and dry before priming or painting.
Allow more time than you think you need. Weatherboards have laps, edges and sheltered sections that dry at different rates. A surface may look dry from the street while moisture is still trapped around board joins or behind flaking paint.
Wash away dirt, chalk and mildew
New paint needs a clean surface to bond properly. Start by brushing away cobwebs, loose dirt and dry debris. Then wash the walls with an exterior house wash or suitable sugar soap solution, following the product instructions. Pay close attention to eaves, lower boards, shaded walls and areas near gardens where mould and grime build up.
Rinse thoroughly with clean water. A pressure washer can be useful, but it must be handled with care. Too much pressure can force water behind the weatherboards, damage soft timber or strip sound paint unnecessarily. For many homes, a hose, soft brush and steady hand are safer than aggressive pressure cleaning.
Give the washed surfaces enough time to dry. This step is easy to underestimate, especially after cooler or damp weather. Painting over damp timber is one of the quickest ways to shorten the life of an exterior paint job.
Scrape, sand and repair the timber
Once the boards are dry, remove every area of loose or lifting paint with a quality scraper. Keep going until you reach firmly bonded paint or bare timber. Do not simply feather the loose edges and hope a thick topcoat will hold them down. It will not.
Sand the transition between bare timber and sound painted areas so the repair does not show through the final finish. Medium-grit sandpaper is generally suitable for smoothing rough timber and feathering edges, followed by a finer grit where needed. Dust down the wall when finished, as paint applied over sanding dust can fail prematurely.
Small nail holes, shallow dents and minor splits can be filled with an exterior-grade timber filler. Use a flexible exterior sealant for narrow gaps around trims and junctions where movement is expected. Do not fill drainage paths or seal the bottom edge of boards where water needs to escape.
Larger cracks, cupped boards and rotten sections should be dealt with properly. Depending on the extent of damage, that may mean replacing a board, repairing the affected timber or bringing in a carpenter. This is one of the key trade-offs in exterior work: spending more on repairs now often avoids a far more expensive repaint later.
Prime bare timber and problem areas
Primer is not an optional extra where bare timber has been exposed. It seals the surface, helps the topcoat bond and creates a more even finish. Use a primer suitable for exterior timber and compatible with the paint system you plan to use.
Spot priming bare areas can be enough when most of the existing coating is sound. If the old finish is badly weathered, chalky or has widespread patch repairs, a full prime coat may deliver a more reliable result. The right approach depends on the condition of the property, not just the age of the last paint job.
Pay particular attention to end grain, cut edges and repaired spots. These absorb moisture more readily and are often the first areas to fail. Priming them thoroughly is a small detail that makes a real difference to durability.
Apply two quality topcoats
For most weatherboard homes, two full topcoats of quality exterior acrylic paint provide the protection and coverage needed for a lasting result. Use a brush to cut in around windows, trims and board edges, then apply paint evenly with a roller suitable for exterior surfaces. Work in manageable sections and maintain a wet edge to reduce lap marks.
Brush paint into the lower lip and overlaps of each board rather than merely rolling across the face. These small edges are exposed to weather and are easily missed when the job is rushed. Watch for runs beneath laps and around window trims, then smooth them out while the paint is still wet.
Do not stretch the paint too far. Thin, under-applied coats may look acceptable on the day but offer less protection against UV exposure and moisture. Follow the spread rate on the tin and allow the full recommended drying time before the second coat.
Colour choice also affects performance. Dark colours can look striking, but they absorb more heat and may increase movement in timber boards, particularly on exposed walls. Lighter and mid-tone colours are often more forgiving in harsh sun. If you are changing from a dark colour to a pale one, expect to use a suitable undercoat or extra coverage to achieve an even result.
Finish neatly and keep an eye on the exterior
Once the final coat is dry, remove masking carefully, clean up drips and check the work from several angles. Look along the wall for missed board edges, thin patches and uneven sheen. A proper final inspection is how a tidy repaint stays tidy.
Keep the weatherboards in good order by clearing gutters, trimming plants away from walls and washing off cobwebs and grime from time to time. Check exposed areas annually for cracks, failed sealant and early paint breakdown. Small touch-ups are far easier than waiting until bare timber is exposed again.
Repainting weatherboards is labour-intensive, particularly on two-storey homes, heritage properties or buildings with extensive timber repairs. For homeowners, landlords and property managers who want the work handled properly from preparation through to clean-up, Shine Painters Adelaide can assess the condition of the exterior and provide a clear, honest scope of work. The best result is not just a fresh colour. It is timber that is properly protected and a finish you can be proud to come home to.