
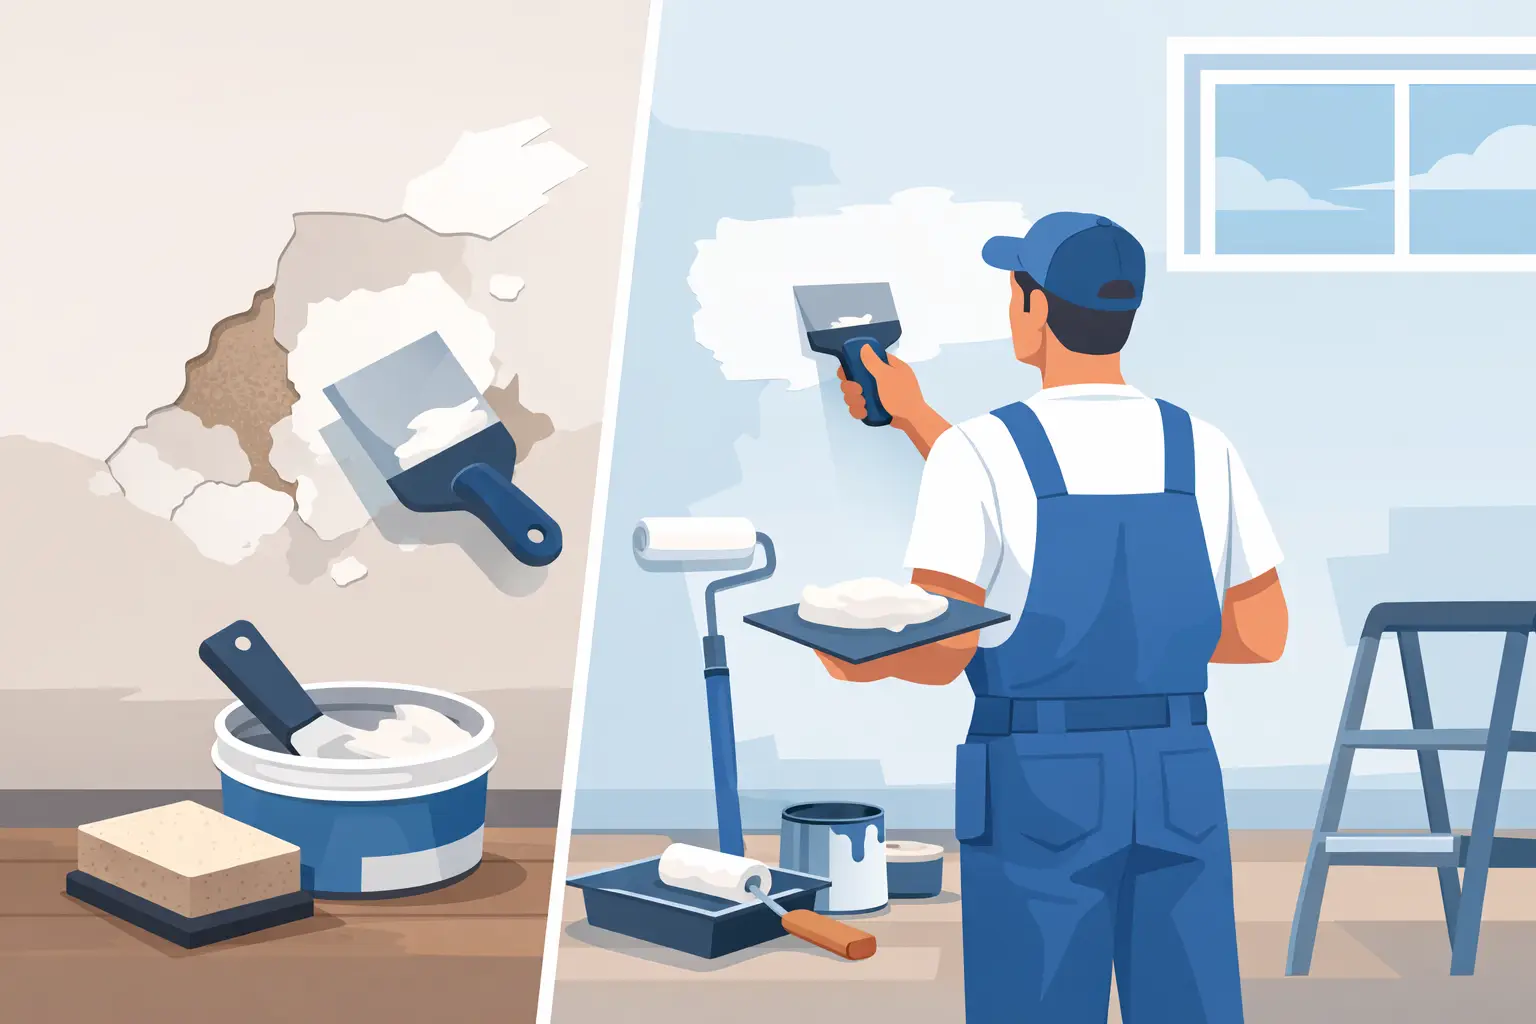
A fresh coat of paint will not hide a poor repair. In fact, it usually does the opposite. When it comes to plaster patching before repainting, small dents, hairline cracks and old patch jobs tend to stand out even more once light hits a newly painted wall. If you want a finish that looks clean and lasts, the repair work underneath has to be done properly.
That is where many paint jobs go wrong. The painting itself might be neat, but if the wall prep is rushed, the final result can still look rough, uneven or patchy. For homeowners, landlords and property managers, that often means paying twice – once for the repaint, and again to fix what should have been handled before the first brush went near the wall.
Why plaster patching before repainting matters
Paint highlights surface flaws. On older walls especially, even minor imperfections can become obvious after repainting because fresh paint reflects light more evenly than aged paint. A shallow dent, a ridge around a filler spot, or a crack that was never stabilised can all show through.
Proper plaster patching before repainting is not just about appearance either. It also helps with paint adhesion and durability. Loose material, powdery patches, flaking sections and poorly sanded filler can cause the new coating to fail sooner than it should. That might mean peeling, flashing, or visible dull spots where the patch absorbs paint differently from the rest of the wall.
In rental properties and commercial spaces, this matters even more. Turnaround work often needs to be done quickly, but speed should not come at the cost of a finish that looks rushed. Good prep saves time later because the job is less likely to need touch-ups, complaint call-backs or another repaint sooner than expected.
What needs patching and what needs more than a patch
Not every wall defect is the same. Some issues are simple cosmetic repairs, while others point to movement, moisture or previous poor workmanship.
Small picture hook holes, minor dents, scuffs and shallow chips are usually straightforward patching work. Hairline cracks can also be repaired, but they need a bit more care. If the crack is active, widening, or returning after previous repairs, a basic skim of filler may not hold for long. In those cases, the repair method matters just as much as the paint system going over the top.
Larger holes, crumbling plaster, bubbling paint, or soft patches are different again. These can suggest water damage, substrate failure or impact damage that goes deeper than the surface. If there is any sign of staining, dampness or movement around doors, windows or cornices, patching alone may not be the full answer. The cause needs to be sorted first, otherwise the fresh paint is only covering a problem that will come back.
The difference between a quick patch and a proper repair
A quick patch fills the hole. A proper repair blends the wall back to a consistent, paint-ready surface.
That means removing any loose or damaged material first, cleaning the area, applying the right filler or compound, allowing proper drying time, sanding it smooth, and checking the surface in the right light. It also means feathering the patch out beyond the damaged spot so there is no obvious edge left behind.
This is where experience shows. A patch can look fine before paint, then stand out badly afterwards because it was left slightly proud, slightly hollow, or too rough around the edges. On ceilings and walls with strong natural light, even a small defect is easy to spot.
There is also the issue of product choice. Different wall conditions need different fillers. Lightweight fillers may be suitable for small cosmetic marks, while deeper repairs often need a stronger compound. Using the wrong product can lead to shrinkage, cracking or poor adhesion under paint.
Why patched walls often show through fresh paint
One of the most common complaints after repainting is visible patching. The wall has been painted, but you can still see where the repairs were done. This usually comes down to one of three things: poor sanding, no spot priming, or inconsistent surface porosity.
A patched area absorbs paint differently from the surrounding plasterboard or solid plaster. If that repair is not sealed correctly, the topcoat can dry with a different sheen or texture. This is often called flashing, and it is especially noticeable on low-sheen and matt finishes in bright rooms.
Spot priming patched sections helps even out the surface so the finish coat sits more consistently. In some cases, depending on the age of the walls and how much patching has been done, a full undercoat across the entire wall is the better option. It adds time and materials, but it can make a major difference to the final look.
Getting the wall ready for paint
Once patching is complete, the surface still needs proper preparation before repainting starts. This part is often underestimated.
Dust from sanding must be removed fully. If it is left behind, it can interfere with adhesion and leave a gritty finish. Any remaining gloss, grease, smoke residue or general grime should also be cleaned off, particularly in kitchens, hallways, rentals and commercial spaces.
Then comes the check for uniformity. A wall can feel smooth by hand but still show defects under side light. Looking across the surface, rather than directly at it, helps pick up ridges, hollows and patch outlines before the first coat goes on. This is one of those simple steps that saves headaches later.
For older Adelaide homes, there can also be a mix of old repairs, layered paint systems and surface wear that needs a bit more attention. In those cases, repainting is rarely just a matter of filling one mark and rolling over the top. The better approach is to treat the wall as a whole surface, not just a collection of isolated defects.
When DIY patching makes sense and when it does not
There is nothing wrong with handling a few tiny screw holes yourself if you have the right materials and enough patience. For minor touch-ups in a low-visibility area, a simple patch and repaint can be perfectly reasonable.
But larger patching work is where many DIY jobs start to show. Matching texture, keeping repairs flat, avoiding over-sanding, and knowing when a crack needs reinforcing rather than filling all take a practiced eye. So does choosing the right primer and finish so patched sections do not flash through.
If the room has high natural light, dark paint colours, broad wall spans or existing wall damage in several areas, professional preparation usually gives a better result. The same goes for end-of-lease repaints, sale preparation, and commercial work where presentation matters straight away.
A rushed patch job might look acceptable from the doorway. It is a different story once the sun comes through the window at 3 pm and every repair line shows up.
What to expect from a professional patch and repaint job
A proper service should deal with more than the topcoat. That includes assessing the wall condition, identifying whether the damage is superficial or structural, selecting the right repair products, sanding and sealing the patches correctly, and applying paint in a way that creates an even finish across the whole surface.
Just as importantly, it should be done neatly. Dust control, surface protection and clean-up matter, especially in occupied homes, managed rentals and working commercial spaces. Good trades do not leave you with patched walls, paint splatter and sanding dust through the property.
This is why many clients prefer an all-in-one approach rather than organising repairs separately from painting. When the same team handles the patching, prep and repaint, there is better control over the end result. At Shine Painters Adelaide, that is a big part of doing the job properly – no shortcuts on the wall repairs, no guesswork on the finish.
The finish is only as good as the prep
There is a reason experienced painters put so much emphasis on preparation. Paint is the part everyone sees, but the wall repair work underneath is what decides whether the result looks smooth and professional or uneven and short-lived.
Plaster patching before repainting is one of those steps that can seem minor until it is done badly. Then it becomes the first thing people notice. If you want a repaint that looks sharp, wears well and adds value to the property, start with the wall itself and make sure it is genuinely ready for paint.
A good paint finish should not make old damage easier to see. It should make the room feel fresh, clean and properly looked after.