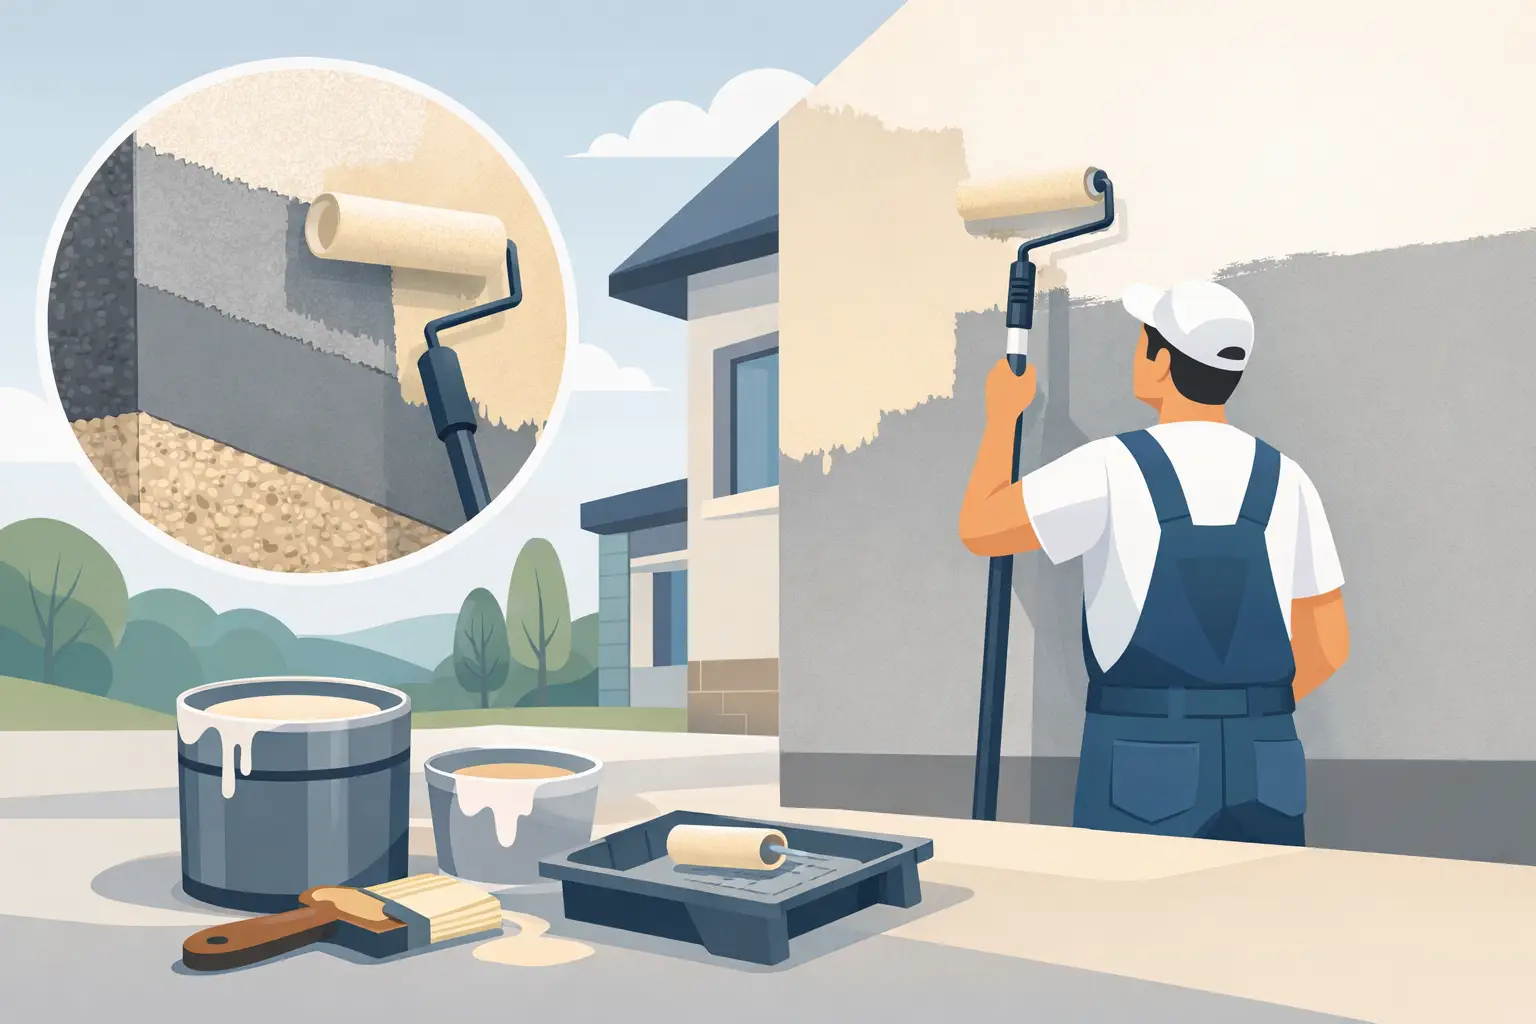
Fresh paint on render can make a home or shopfront look sharp again, but it also shows every shortcut. A proper guide to painting rendered walls starts before the first coat goes on, because render has a habit of holding moisture, collecting fine dust and revealing patchy work once the sun hits it.
Rendered walls can look simple from a distance. Up close, they are often uneven, porous and affected by hairline cracking, chalking or weather wear. That is why the job is less about just putting colour on the surface and more about getting the wall stable, clean and ready to hold paint for years, not months.
Why rendered walls need a different approach
Render is not the same as standard plasterboard or previously painted weatherboards. It is more absorbent, more exposed to movement and more likely to have moisture-related issues, especially on exterior walls. If the wrong paint goes on, or if the wall is painted too soon after repairs, the finish can blister, peel or dry patchy.
This matters for homeowners wanting a tidy facelift, but it is just as important for landlords, property managers and business owners. A rendered wall that looks good for six weeks and then starts failing is not a saving. It usually means paying twice.
Guide to painting rendered walls – start with the wall condition
Before choosing paint, check what shape the render is in. New render, old render and previously painted render all need slightly different treatment.
New render needs proper curing time. If it is painted too early, trapped moisture and alkalinity can interfere with adhesion and lead to early paint failure. Exact timeframes vary depending on the product used and weather conditions, so it pays to follow the render manufacturer’s advice rather than guessing.
Older render often has surface dust, stains, fungal growth or small cracks. Previously painted render can also hide loose areas that only show up once washing starts. If paint is flaking or the surface feels powdery, that has to be dealt with before any topcoat is considered.
A good inspection should also look at where the damage is happening. Cracks around windows, downpipes, expansion points and lower wall sections can point to movement or moisture entry. Painting over the symptom without fixing the cause rarely lasts.
Preparation is where the finish is won
Prep work is the difference between a neat, durable result and a job that starts looking tired early. On rendered walls, preparation usually involves cleaning, scraping, repairing and sealing.
The wall needs to be thoroughly cleaned first. Dirt, chalky residue, cobwebs and pollution all interfere with adhesion. Exterior render often needs a pressure wash, but this must be done with care. Too much pressure can damage weak render or force water deep into cracks. Once washed, the wall needs time to dry properly.
After cleaning, loose or failing paint should be removed. Hairline cracks may need opening slightly before filling so the repair can bond properly. Larger cracks or hollow-sounding areas may point to render failure rather than a simple cosmetic issue. In those cases, patching over the top is usually not enough.
Filler and repair products need to suit masonry or render surfaces. Using the wrong product can leave obvious patches or create repairs that shrink, crack or flash through the paint. Once repairs are dry, the surface should be sanded or blended as needed so the final coat looks even.
Primers and sealers – not always optional
One of the most common mistakes with render is skipping the primer or using a general-purpose undercoat that is not suited to masonry. Because render is porous, it can absorb paint unevenly and leave a patchy finish if it is not sealed correctly.
A quality masonry primer or sealer helps even out porosity, improve adhesion and create a more consistent base for the topcoats. On chalky or powdery surfaces, the right sealer is even more important. Without it, the paint can end up bonding to loose dust rather than the wall itself.
There is no one-size-fits-all product here. New render may need an alkali-resistant primer. Older painted render may need a binding sealer if the surface is friable. If there are stains or previous water marks, spot priming may also be needed.
Choosing the right paint for rendered walls
The best paint for render is usually a high-quality exterior masonry paint designed to handle movement, weather exposure and moisture vapour. That last part matters. Render needs to breathe to some extent, so the coating should protect the surface without trapping moisture behind it.
Acrylic exterior paint is a common choice because it has good flexibility, solid durability and generally performs well in Australian conditions. In Adelaide, where walls can face strong sun, heat and sudden weather shifts, that flexibility helps reduce the risk of cracking and peeling.
Finish also matters. Flat and low-sheen finishes are often preferred on render because they soften surface imperfections. Higher sheen products can be easier to clean, but they also highlight texture changes, repairs and uneven areas. For many homes, a low-sheen finish strikes the right balance between appearance and practicality.
Colour choice is not just about style either. Dark colours can hold more heat, which may put extra stress on some rendered surfaces, especially on full-sun elevations. That does not mean they cannot be used, but it is worth weighing up looks against long-term performance.
Application matters as much as product choice
Even good paint will struggle if it is applied badly. Render tends to drink in the first coat, so coverage can be deceptive. A wall may look coated while still being underpainted in places.
Brush, roller and spray all have their place. Rollers are commonly used on render because they work paint into the texture well. Spraying can be efficient on large areas, but it often still needs back-rolling to push the coating into the surface and even out coverage. Brushes are useful for edges, corners and detailed sections.
Two full coats are generally the minimum for a durable finish, and more may be needed on fresh render, repaired areas or strong colour changes. The key is to keep a wet edge, apply the product at the recommended spread rate and allow proper drying between coats. Rushing recoat times, especially in cool or damp conditions, can cause problems later.
Weather needs watching too. Exterior render should not be painted when rain is due, when the wall is too hot, or when temperatures are outside the paint manufacturer’s recommendations. A wall baking in afternoon sun can dry paint too fast and affect adhesion and finish quality.
Common problems and why they happen
If rendered walls fail after painting, the cause is usually one of a few familiar issues. Moisture is a major one. Water coming through cracks, leaking gutters, failed seals or rising damp will keep undermining paint until the source is fixed.
Poor preparation is another. Painting over dust, loose paint or chalky residue almost always catches up with the job. Incorrect product choice can also cause trouble, particularly when coatings are too rigid or not suited to masonry.
Then there is timing. New render painted before it has cured properly, repairs coated before they are dry, or walls washed and repainted before moisture has escaped can all lead to blistering and peeling. The frustrating part is that these issues may not show immediately. Sometimes they appear weeks or months after the job looks finished.
When it makes sense to call in a professional
Some small rendered walls are manageable if the surface is sound and the prep is straightforward. But larger homes, commercial frontages, multi-storey walls or heavily cracked render usually call for experience. The job moves faster when the prep, repairs and coating system are planned properly from the start.
That is often where professional painters add real value. Not just in applying paint neatly, but in identifying whether the wall needs cleaning, patching, sealing or more substantial repair before painting begins. For landlords and business owners especially, that can save downtime and repeat costs.
At Shine Painters Adelaide, rendered wall work is approached the same way as any quality repaint – no shortcuts on prep, no guesswork on products and no leaving a mess behind. That matters when you want a finish that looks right and holds up.
A well-painted rendered wall should do more than brighten a property for sale photos or tidy up a tired exterior. It should protect the surface, handle the weather and still look solid well after the brushes are packed away. If you treat render properly from the start, the result is something you can be proud to show off.