
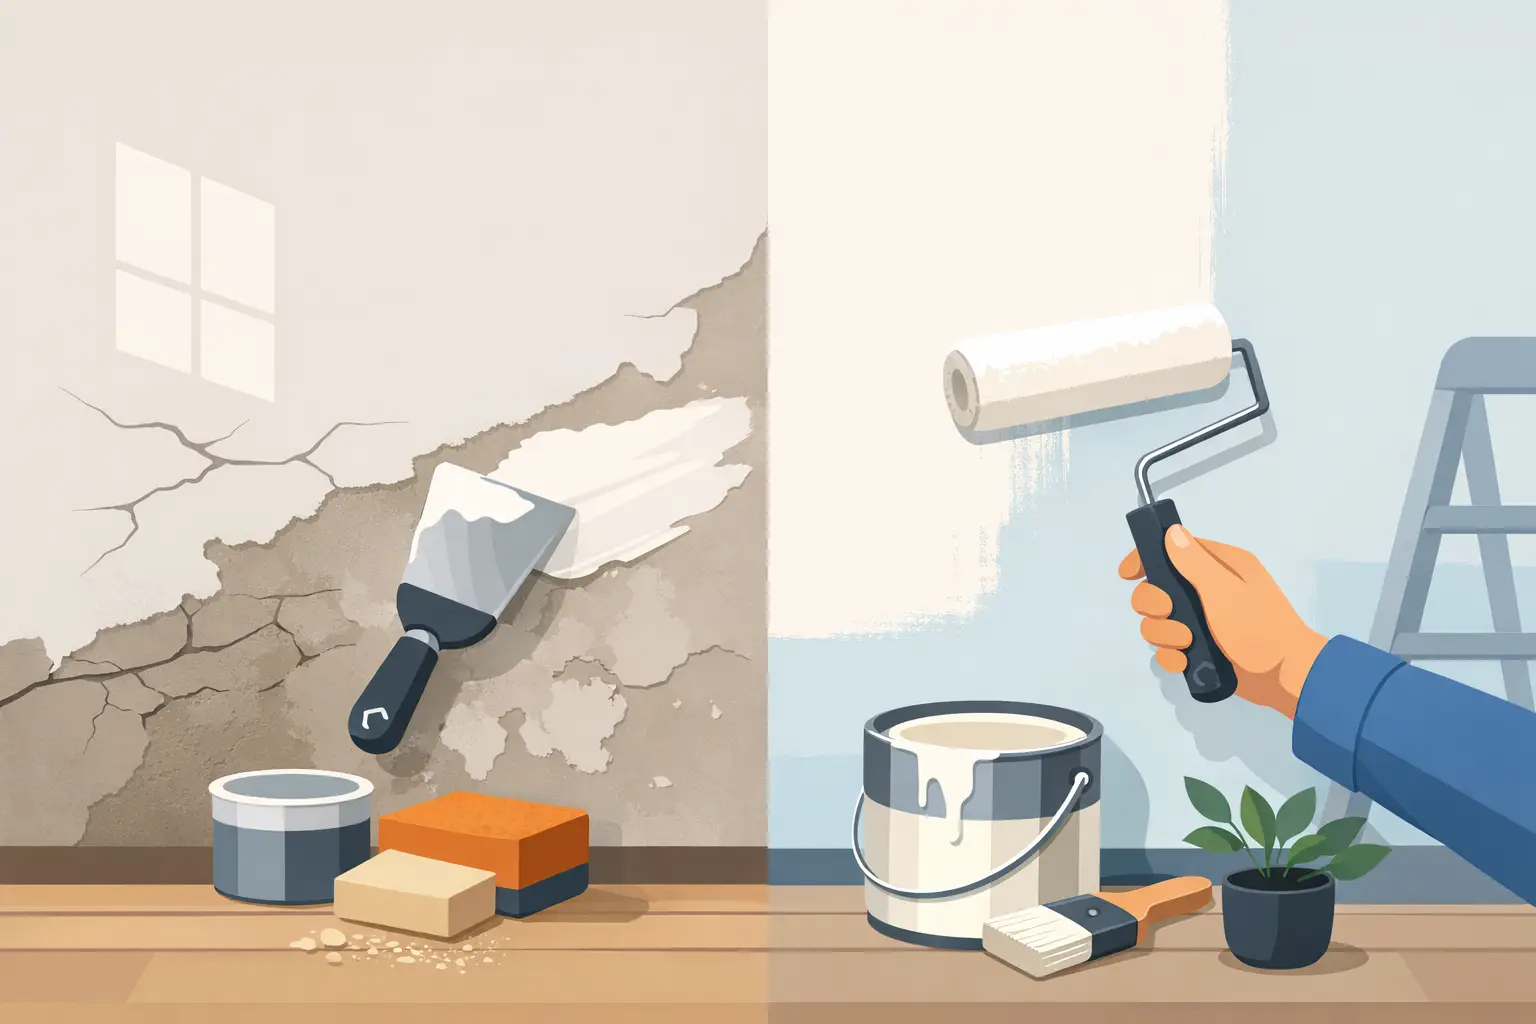
A scuff-marked wall is one thing. Plaster that is cracked, bubbling, soft to touch or shedding paint is another. A proper guide to repainting damaged plaster walls starts with the surface underneath, because fresh paint will not hide movement, moisture or poor repairs for long. Whether you are freshening up your Adelaide home, preparing a rental between tenants or improving a commercial space, the preparation work determines whether the result looks sharp and lasts.
Start by finding the cause of the damage
Before picking a colour or opening a tin of paint, inspect the wall closely in good natural light. Hairline cracks around door frames, windows and cornices can be common as a property settles. Small dents, old picture-hook holes and minor chips are generally straightforward repairs. Larger cracks, loose plaster, stains and bubbling paint call for a closer look.
Moisture is the biggest red flag. If plaster feels soft, paint is peeling in patches, or there are brown water marks, fix the source of the water first. It may be a leaking roof, failed flashing, plumbing leak, overflowing gutter or poor ventilation in a bathroom or laundry. Painting over a damp wall traps the problem and usually leads to more peeling, staining and repair costs later.
Also check for structural movement. A crack that is wider than a hairline, keeps reopening, runs diagonally from a door or window corner, or appears alongside sticking doors may need assessment before cosmetic work begins. The same applies to extensive ceiling damage. There is no point applying a neat patch if the building is still moving.
A guide to repainting damaged plaster walls properly
The right repair method depends on what has failed. Rushing this stage is where most patchy paint jobs begin. A repaired area can look fine on the day, then show through as a raised edge, dull patch or visible crack once the room is painted.
Remove anything loose
Start by protecting floors, furniture, power points and skirting boards. Scrape away flaking paint, loose plaster and weak filler with a paint scraper or broad knife. Do not just remove what falls away easily. Keep going until the surrounding surface feels firm and the edge of the remaining paint is stable.
For older painted surfaces, take sensible precautions before dry sanding, especially if you are unsure of the coating age. If the home was built before the mid-1980s, seek advice on possible lead-based paint before disturbing it. Dust control matters in every property, but particularly in occupied homes, rentals and workplaces.
Once loose material is removed, wash off dust, grease and grime using a suitable sugar soap solution, then allow the wall to dry fully. Kitchen walls, hallways and rental properties often carry more hand marks and residue than they first appear to. Paint adhesion suffers when the surface is not clean.
Repair cracks, holes and damaged sections
Fine, stable cracks can usually be opened slightly into a shallow V-shape, dusted out and filled with a quality flexible filler or patching compound. Opening the crack may seem counterproductive, but it gives the filler enough depth to grip rather than sitting loosely on the surface.
For wider cracks, apply joint tape over the prepared area before using a setting compound or plaster patch. The tape helps bridge the crack and reduces the chance of the repair line appearing again. Build the compound in thin layers rather than trying to fill a deep void in one heavy application. Each layer needs to dry or set as directed before the next is applied.
Small holes from hooks and fittings can be filled, sanded and feathered out. Larger holes need backing and reinforcement. If a section of plasterboard is broken, bowed or water-damaged, cutting it back to sound material and fitting a new patch is often more reliable than repeatedly filling the damaged area. Solid plaster walls may need a different repair compound and more time to cure.
The goal is not simply to make the hole disappear. The repaired area needs to sit level with the wall and transition smoothly into the existing surface. Run a broad knife across it and feel for ridges with your hand. Your fingers will often find imperfections that your eyes miss.
Sand, check and prime repairs
When the filler is fully dry, sand it smooth with fine-grit abrasive paper. Use light pressure and feather the edges well beyond the repair. A hard edge around a patch is one of the most common reasons it becomes obvious after painting.
Vacuum or wipe away all sanding dust, then inspect the wall from different angles. A work light held close to the surface can reveal shallow dips, ridges and missed cracks. It is far easier to apply one more skim of filler now than to live with a visible defect after the room is finished.
New plaster, bare patches and repaired areas should be sealed before top coats go on. A suitable plasterboard sealer or primer evens out porosity so the wall does not absorb paint unevenly. Without it, patches can flash through the finish as dull or shiny spots, even when the paint colour matches perfectly.
Water stains need special attention. Once the leak has been resolved and the wall is dry, use a stain-blocking primer designed to stop discolouration bleeding through. Standard acrylic wall paint is not always enough to hold back old water marks, nicotine staining or tannin bleed.
Choose paint for the room, not just the colour chart
Most interior plaster walls are finished with a quality water-based acrylic paint. It is low odour, dries relatively quickly and is practical for occupied homes. The sheen level should suit how the room is used.
Flat or matt finishes hide minor surface variation well and work nicely in living rooms, bedrooms and ceilings. Low-sheen paint offers a little more washability and is a popular choice for general walls. In busy hallways, children’s rooms, kitchens and rentals, a washable low-sheen or satin finish can be worth the extra investment. Higher sheen paints are tougher to clean but will highlight every imperfect repair, so the preparation needs to be first-rate.
Colour also changes what the eye notices. Strong side light can expose patches on dark colours, while very pale shades can show dirt and scuffs more readily in high-traffic areas. For a rental, neutral, durable colours often make touch-ups and future turnovers easier. For a home or business, a well-chosen feature colour can add character, but it still needs a sound, even base beneath it.
Apply paint in a controlled order
Cut in around ceilings, cornices, windows, doors and skirting boards first, then roll the larger wall areas while the cut-in edge is still wet. This helps maintain a consistent finish. Work in manageable sections, keep a wet edge and avoid over-rolling paint as it starts to dry.
Two full coats are normally needed for an even, durable result, particularly over repaired sections or when changing colour. Allow proper drying time between coats. Adelaide heat can make paint feel dry quickly, but surface dry is not always the same as ready for another coat. Follow the product directions and keep rooms ventilated where practical.
Avoid painting in very hot conditions, direct sun on external-facing walls, or damp and poorly ventilated rooms. These conditions can affect how paint flows, bonds and cures. For bathrooms and laundries, make sure extraction fans are working and allow the room to air properly before and after painting.
When a professional repair is the sensible option
DIY repairs can suit small, stable damage where you have the time and patience to sand, prime and repaint carefully. The trade-off is that patching plaster is less forgiving than it looks. If you can see the repair line before painting, it will usually be more noticeable after paint goes on.
Professional help is often worthwhile for recurring cracks, water damage, large holes, widespread peeling, high ceilings, stairwells or a full-property repaint. It is also a practical choice for landlords and property managers working to a tight handover date. A trained painter can assess the cause, prepare the wall correctly, match the coating system to the room and leave the site tidy rather than turning a minor repair into a drawn-out job.
At Shine Painters Adelaide, the focus is on doing the repair work properly before the final coat goes on. A smooth wall is not created by paint alone. It comes from sound plaster, careful preparation and a finish that suits the way the property is used.
If the damage is more than a few nail holes, take the extra time to address it before repainting. The wall will look better in changing light, stand up to daily use and give you a result you can be proud to show off.