
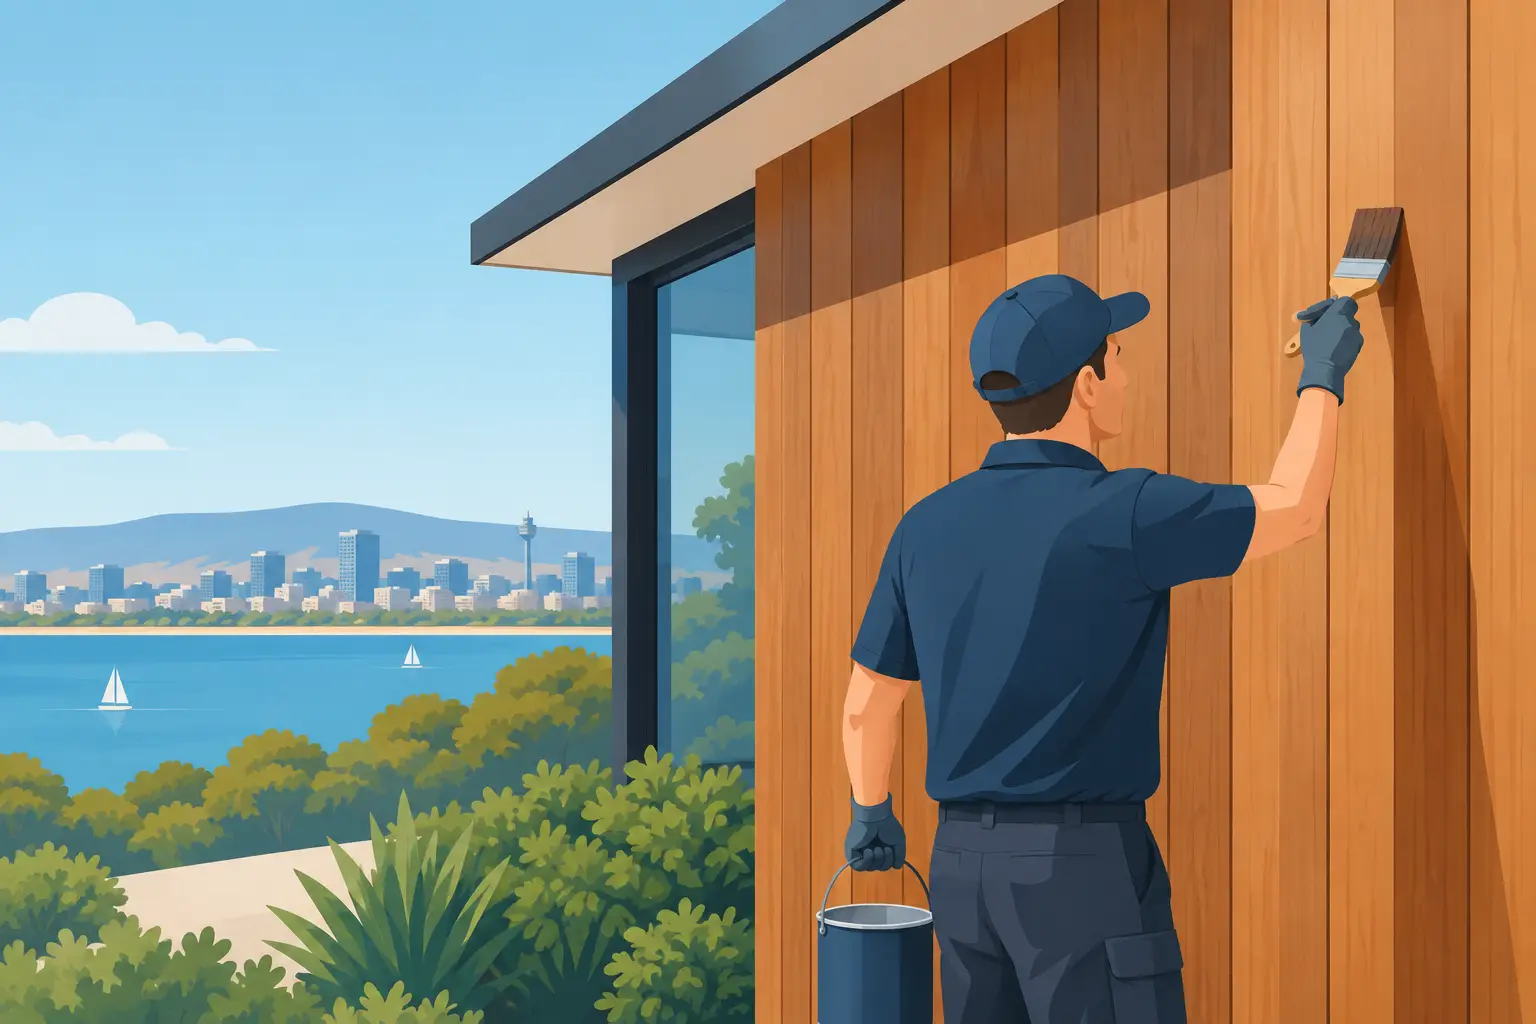
Timber cladding can make a home, rental or commercial frontage look sharp, but Adelaide weather is tough on exposed timber. Knowing how to protect timber cladding means dealing with more than just its appearance. Strong UV, hot dry spells, winter rain and coastal salt can fade, split, stain and break down a coating long before the timber itself should be due for replacement.
The right protection starts with good preparation and the right coating system for the timber, location and look you want. A quick coat over weathered boards may improve the colour for a short time, but it will not stop peeling, moisture entry or ongoing deterioration. Doing the job properly protects the building as well as the finish.
Start by checking the condition of the cladding
Before choosing a stain, oil or paint, inspect the cladding closely. Look at the walls that get the strongest afternoon sun, the lower boards near paving and garden beds, and areas around windows, doors and roof lines. These are usually the first places where trouble shows up.
A little grey weathering is often cosmetic, particularly on naturally durable hardwoods. However, soft timber, open joints, raised grain and black staining can point to moisture being held against the cladding. Push gently around suspicious areas with a screwdriver. Timber that feels soft or flakes away needs repair, not another coat.
Pay attention to these warning signs:
- peeling, cracking or blistering paint
- fading or patchy stain on sun-facing walls
- mildew, algae or dark moisture marks
- gaps at joins, split boards or exposed end grain
- rusty fixings, loose boards or failed sealant around openings
Where boards are damaged or rotten, replace them before coating. Paint and stain are protective finishes, not structural repairs. Covering failed timber traps the problem in place and usually makes the eventual repair more expensive.
How to protect timber cladding with the right coating
There is no single best product for every timber-clad building. The right system depends on the timber species, whether the cladding has been previously coated, how exposed the wall is and how much maintenance you are prepared to do.
Paint for the strongest colour coverage
An exterior paint system gives the most solid colour and can provide excellent weather protection when it is applied over properly prepared and primed timber. It is a practical choice for older cladding, repaired areas and homes where a clean, consistent colour is the priority.
Paint does hide the natural grain, so it is not the right choice for everyone. It can also peel if moisture gets behind it through unsealed edges, failed flashing or gaps around windows. That is why preparation, priming and attention to detailing matter just as much as the top coats.
Stain for a natural timber look
Exterior stains allow more of the timber character to show through. Semi-transparent stains are popular where the grain is a feature, while solid stains sit closer to a painted finish. Quality exterior stains contain UV protection, but clear or very lightly pigmented finishes generally need more frequent maintenance in Adelaide’s harsh sun.
Darker stains can fade unevenly on exposed elevations. Lighter colours may show dirt and water marks sooner. A test patch is worthwhile, especially where new replacement boards sit beside older timber.
Oils and clear finishes need realistic expectations
Oils can give timber a rich, natural appearance, but they are not a fit-and-forget option on vertical external cladding. Some need regular reapplication, particularly on west-facing walls and near the coast. Clear finishes offer the least UV protection because pigment is what helps shield timber from sunlight.
For a feature wall under a deep eave, an oil or clear system may be suitable. For a fully exposed façade, a pigmented stain or paint system will usually last longer and require less frequent attention.
Preparation is where long-lasting results are won
A good coating cannot compensate for poor surface preparation. First, wash away dirt, salt, cobwebs, mould and chalky old coating. Use a suitable exterior cleaner and allow the timber to dry properly. High-pressure washing can damage softer timber, force water behind boards and raise the grain, so it needs to be done carefully rather than blasted at close range.
Next, remove loose or flaking paint by scraping and sanding. Feather the edges of sound existing paint so repairs do not show through the new finish. Sand rough areas, splinters and raised grain, then remove all dust before priming or staining.
Bare timber needs the correct primer or sealer for the coating system. End grain is especially thirsty and vulnerable to water uptake, so it should be sealed thoroughly. Any fresh cuts, drilled holes and exposed board ends need treatment before installation or as soon as they are revealed during repairs.
Do not coat damp timber. This is one of the most common shortcuts behind early coating failure. Moisture inside the timber can cause blistering, poor adhesion and staining. After rain, washing or repairs, give the cladding adequate drying time and follow the product requirements for moisture content and weather conditions.
Keep water away from the wall system
A coating protects the face of timber, but good building details protect the whole cladding system. Check gutters, downpipes and roof flashings regularly. Overflowing gutters can repeatedly soak the same section of wall, causing paint failure and rot no matter how good the coating is.
Garden beds should sit clear of the cladding, not piled against it. Keep sprinklers from hitting timber walls and make sure paving or soil levels do not bridge the lower edge of the boards. The bottom of cladding needs clearance and drainage so it can dry after rain.
Gaps around windows, doors, penetrations and joints should be assessed and sealed with a suitable flexible exterior sealant where required. Do not block designed drainage gaps or ventilation cavities behind the cladding. Timber needs a way to dry, and a wall that cannot drain or breathe is more likely to suffer hidden moisture damage.
In coastal Adelaide suburbs, salt deposits deserve extra attention. Regular gentle washing helps stop salt and grime from sitting on the coating. Properties close to the beach often need more frequent inspections than homes further inland.
Plan maintenance before the coating looks tired
The best time to maintain timber cladding is before the protective layer has failed. Check it at least once a year, and after severe weather. Focus on exposed elevations, horizontal ledges and areas beneath gutters or balconies.
A wash and minor touch-up can extend the service life of a coating significantly. Once paint has peeled widely or stain has weathered back to bare timber, the preparation work becomes more involved. Ignoring early signs rarely saves money.
How often timber needs recoating varies. A protected wall under wide eaves may stay in good condition for years, while a north- or west-facing wall with little shade can need attention much sooner. The coating type, colour, timber movement, surface preparation and local exposure all affect the schedule.
When professional preparation makes sense
Timber cladding is not always a straightforward weekend painting job. Multi-storey access, extensive peeling, rot repairs, lead paint concerns in older properties and detailed weatherboards all add risk and time. Getting the preparation wrong can leave you with a patchy finish or a coating that fails after one hot summer.
A professional painter can assess whether the timber needs repair, identify the existing coating, recommend a suitable system and apply it in the right conditions. At Shine Painters Adelaide, we treat the cleaning, repairs, priming and final coats as one job, because each stage affects how long the finish will last.
A well-protected timber wall should still look like timber worth having: clean, sound and properly finished, not hidden under a rushed coat. If you can see early weathering, deal with it now while the repair is still simple.