
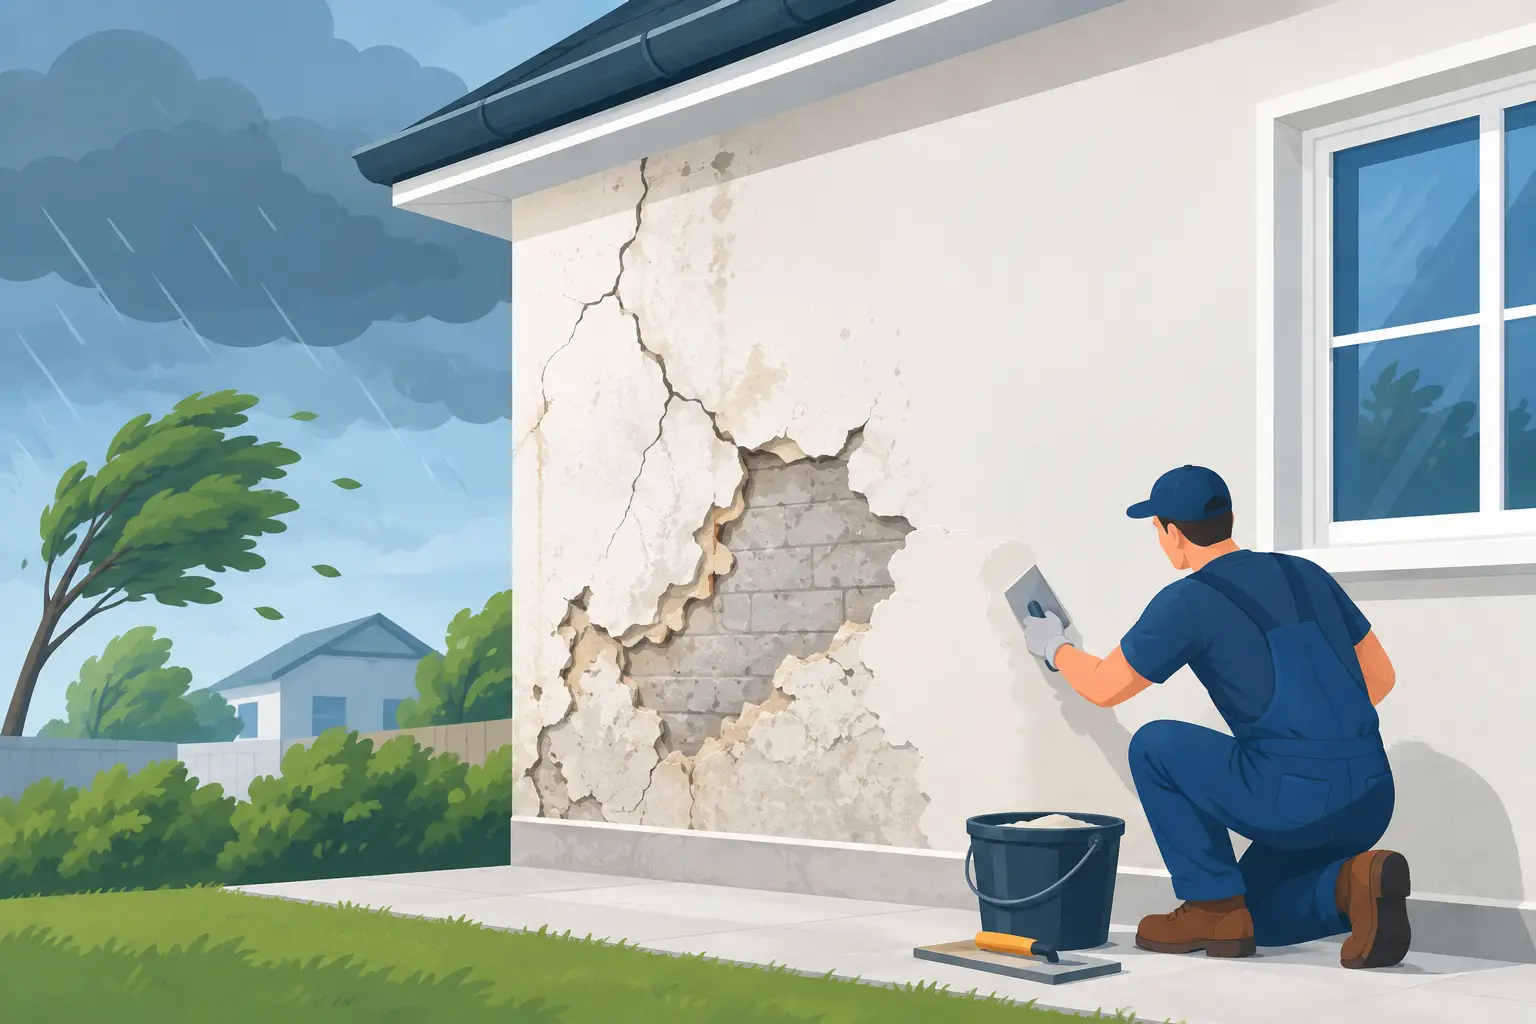
A few bubbling paint patches or a hairline crack may not look urgent, but weather damaged exterior walls rarely stay a cosmetic problem for long. Adelaide homes deal with hard summer sun, wind-driven rain, coastal salt in some suburbs and rapid temperature changes. Once the protective paint film breaks down, moisture can work its way into render, timber, brickwork joints and wall linings.
The right repair is not simply applying a fresh coat over the affected area. Lasting results come from finding the cause, repairing the surface properly, allowing it to dry and using the right preparation and exterior coating system. That is where the difference lies between a wall that looks good for a season and one that stays protected for years.
Signs of Weather Damaged Exterior Walls
Peeling, flaking or blistering paint is one of the clearest warning signs. Paint usually lifts because moisture has got behind it, the surface was not properly prepared during a previous paint job, or the coating has reached the end of its life. Repainting over loose paint will only delay the problem.
Cracks deserve a closer look too. Fine cracks in render can occur as a building naturally moves, but they still create a pathway for water. Wider cracks, cracks that keep reopening, or cracking around windows and doors may point to movement, failed joints or water entering from another part of the building. These need proper assessment before painting starts.
Look for staining, dark patches, chalky paint, mould or green growth, particularly on south-facing walls and areas shaded by trees. These signs can indicate poor drainage, a leaking gutter, overflowing downpipe or water sitting against the wall. In older brick homes, white powdery deposits known as efflorescence can appear when moisture carries salts to the surface. The salt residue needs to be treated and the moisture source addressed, not painted over.
Timber cladding, fascia boards and window trims can show weather damage differently. Soft spots, splitting timber, swollen edges and failed caulking are all signs that water has been getting in. Left alone, minor timber deterioration can turn into rot and make the repair more involved.
Why Adelaide Conditions Are Hard on Exterior Paint
Adelaide’s dry heat places a steady load on exterior surfaces. Strong UV exposure breaks down paint binders, causing fading, chalking and loss of flexibility. Dark colours on sun-facing walls can absorb considerable heat, which makes the substrate expand and contract more noticeably.
Then winter brings rain, cold nights and damp conditions. A wall with open cracks, failed sealant or worn paint can absorb moisture. Repeated wetting and drying puts pressure on render and timber, while moisture trapped behind paint can cause bubbling and peeling.
Homes near the coast face an added challenge. Salt-laden air settles on painted metal, timber and masonry, accelerating corrosion and coating failure if surfaces are not regularly washed and maintained. The right paint system matters, but so does removing salt, dirt and chalking before repainting.
Find the Cause Before Starting Repairs
A good exterior wall repair begins with inspection, not colour selection. The visible damage may be in one spot, but the source can sit above it or around the corner. A leaking gutter can stain and soften a wall below. A cracked window seal can let water into adjacent render. Garden beds built too high against brickwork can hold moisture where the wall needs to breathe.
Check gutters, downpipes, roof flashings, window frames, exterior taps and drainage first. Make sure water is directed away from the building and that downpipes are not discharging beside the footing. If there is a suspected roof leak, plumbing issue or structural movement, those trades should deal with it before the painting work begins.
This is especially relevant for landlords and property managers. A quick repaint might make a wall presentable for an inspection, but it will not prevent another maintenance call if the underlying leak remains. Proper diagnosis protects the property and avoids paying twice for the same work.
The Proper Repair Process for Exterior Walls
The exact process depends on whether the wall is rendered, brick, timber, fibre cement, metal or previously painted masonry. However, durable work follows the same basic principle: remove anything unsound, repair the substrate, prepare it cleanly and apply compatible coatings.
Remove Failed Paint and Contamination
Loose and peeling paint must be scraped back to a firm edge. Chalking surfaces need thorough washing, while mould and algae need to be treated safely rather than simply blasted with water. High-pressure cleaning can be useful on suitable masonry surfaces, but it must be done carefully. Too much pressure can damage soft render, force water into gaps or leave a surface too wet to paint.
The wall then needs enough drying time. Painting onto damp masonry or timber can trap moisture and cause early failure. Drying time depends on the material, weather, shade and how much water the surface has taken on. Rushing this stage is one of the most common reasons exterior paint does not last.
Repair Cracks, Holes and Damaged Sections
Small stable cracks in render can often be opened slightly, cleaned and filled with a flexible exterior repair product. Larger damaged areas may need patch rendering to restore a flat, even surface. Patch repairs should be feathered and cured correctly so they do not show through the final finish.
For timber, damaged boards or trims may need replacement rather than filler alone. Fillers are useful for minor defects, but they cannot rebuild timber that has softened or rotted. Exposed nail heads should be treated, and gaps around windows, doors and cladding joints should be recaulked with a suitable exterior-grade flexible sealant.
Brickwork can require repointing where mortar joints have broken down. If bricks are spalling, badly cracked or showing ongoing damp issues, a painter should not be expected to solve it with paint. A masonry repair or building specialist may be needed first. This is the practical trade-off: spending more on repairs up front is often cheaper than repeatedly repainting a failing surface.
Prime for the Surface, Then Apply Quality Exterior Paint
Primer is not an optional extra when repairs, bare substrate, stains or chalky surfaces are involved. The correct primer improves adhesion, helps seal repaired areas and creates a consistent base for the top coats. Different surfaces need different products, particularly bare timber, metal, masonry and areas affected by stains.
After priming, quality exterior paint is applied at the right coverage rate. Two full coats are commonly needed for even colour, durability and weather resistance. Applying paint too thinly may save product in the short term, but it reduces protection and can leave an uneven finish.
Colour choice also has a practical side. Very dark colours can look sharp, but on a wall exposed to afternoon sun they can run hotter and increase movement in some materials. That does not mean dark colours are off limits. It means the substrate, existing coating, aspect and paint system should be considered before committing.
When a Repaint Is Enough and When It Is Not
A repaint is generally suitable when the existing coating is sound, the wall is dry, damage is limited to surface wear and any minor cracking can be repaired properly. This is often the case with faded paint, light chalking or small isolated defects caught early.
More extensive work is needed when paint is peeling across large areas, render is drummy or crumbling, timber is soft, moisture marks keep returning, or cracks suggest ongoing movement. In these cases, preparation and repairs take longer than painting itself. That is not a shortcut-free job, and it should not be priced as one.
Commercial buildings need the same level of care. A weathered façade can affect first impressions, but repainting a shopfront or office exterior while moisture problems remain can disrupt business twice. Planning repairs, access and drying times around trading hours helps keep disruption to a minimum.
Keep Exterior Walls Protected After Repair
Once repairs and repainting are complete, simple maintenance goes a long way. Keep gutters clear, trim vegetation away from walls and check sealant around windows and doors every year or two. Wash down exterior surfaces periodically, particularly in coastal areas or under large trees where salt, grime and organic growth build up.
Walk around the property after heavy rain. Look for overflowing gutters, new stains, ponding water and cracks that have changed. Catching these issues early is far easier than dealing with widespread peeling paint or damaged render later.
For homes, rentals and business premises across Adelaide, a properly repaired and painted exterior is more than a tidy finish. It is the protective layer that helps the building stand up to the next hot summer, wet winter and everything in between. If you can see damage now, address the cause and repair it properly before the next change in weather makes the job bigger.