
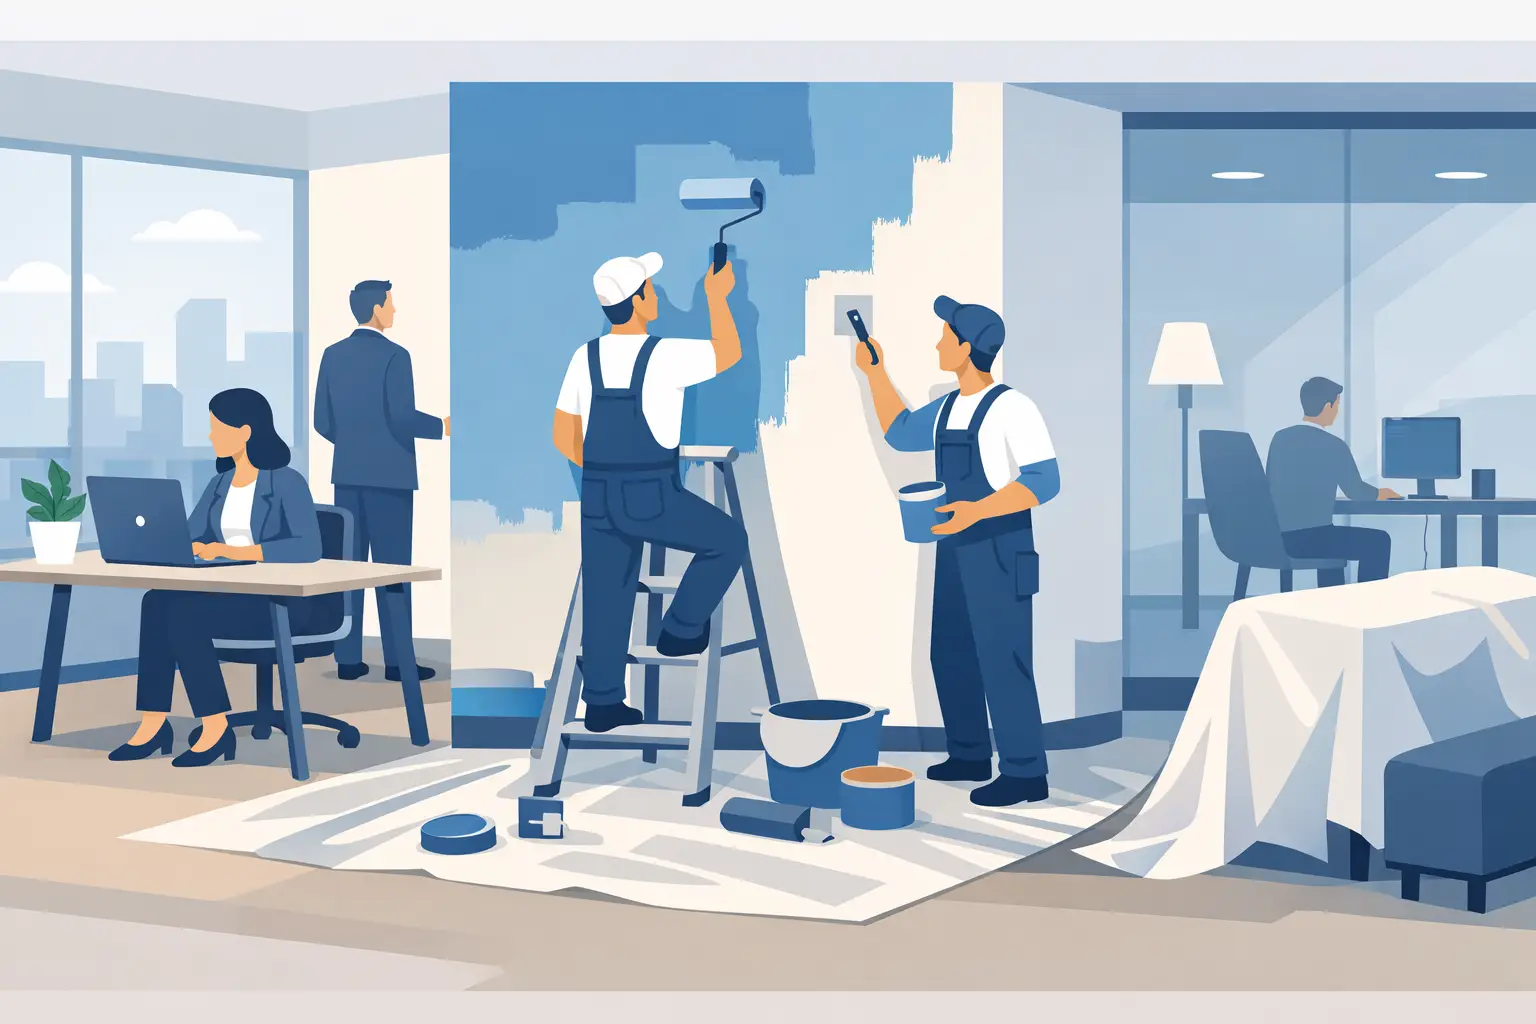
A scuffed reception wall, tired meeting room or patchy corridor can make an otherwise well-run business look neglected. Knowing how to paint office interiors properly is not just about putting a new colour on the walls. It is about planning the work around staff, preparing every surface properly and choosing finishes that stand up to daily use.
For Adelaide offices, retail spaces, clinics and commercial premises, the best result comes from treating painting as a practical maintenance job as well as a visual upgrade. Shortcuts may save time on day one, but they usually show up later as peeling paint, flashing patches, visible repairs or marks that will not wash off.
Start with a plan that protects business hours
Before choosing colours or opening a tin of paint, walk through the premises and assess what needs attention. Note wall damage, stains, old fixings, peeling areas, water marks, high-traffic zones and rooms that need to stay operational. Reception areas, hallways, kitchens and meeting rooms generally need tougher finishes than a low-use storeroom.
The timing of the job matters just as much. Many office interiors can be painted in stages, after hours or over a weekend to reduce disruption. This is particularly useful where staff need access to workstations, clients are visiting, or the business cannot afford to close its doors.
Move desks, monitors, documents and loose furniture away from walls where possible. Items that cannot be moved should be covered securely. A proper painting setup also protects carpets, flooring, skirting boards, door hardware and power points. Clean work is not an optional extra in a working office – it is part of doing the job properly.
Choose colours and finishes for the way the office works
Colour should suit the business, the available light and the purpose of the room. Soft whites, warm greys and muted neutrals work well in many professional settings because they keep spaces bright without being distracting. A feature wall can add personality in a reception area or boardroom, but it should support the space rather than date it quickly.
Natural light changes paint colour significantly. A shade that looks clean and neutral under showroom lighting can appear cool, yellow or dull in an office with limited windows. Test samples on more than one wall and look at them throughout the day before committing. Existing flooring, joinery, signage and furniture should also be considered.
Finish selection is where durability comes into play. Low-sheen acrylic is often a practical choice for office walls because it provides a neat appearance and is easier to clean than flat paint. Flat finishes can hide minor surface variation, but they mark more easily and are less forgiving in busy areas. Semi-gloss is generally better suited to doors, skirting boards, frames and trims where regular wiping is expected.
For occupied workplaces, low-VOC paint can be a sensible option. It can help reduce paint odour, although rooms should still be ventilated well and allowed suitable drying time before normal use resumes.
How to paint office interiors with proper preparation
Preparation is the difference between a finish that looks professional and one that looks rushed. Even high-quality paint will not hide loose material, greasy marks, dents or poorly repaired holes.
Start by removing wall-mounted items where practical, including old hooks, signs and unused brackets. Fill holes, dents and cracks with the right compound, then allow repairs to dry fully before sanding them smooth. If walls have been damaged by office chairs, moving furniture or adhesive strips, these areas may need extra attention to blend in cleanly.
Next, wash down surfaces to remove dust, hand marks, oils and residue. Kitchenettes and areas near printers often collect more grime than expected. Mould, smoke staining or water damage must be dealt with at the source before repainting. Painting straight over a leak or active mould problem only hides it temporarily.
Scrape away loose or flaking paint, feather sand the edges and spot-prime bare patches. Stain-blocking primer may be needed for water marks, nicotine stains or persistent discolouration. If the existing wall colour is very dark or uneven, a full undercoat can make the new colour more consistent and reduce the number of top coats required.
Masking should be neat and deliberate. Tape edges around frames, switches, glass, built-in cabinetry and floors, but do not rely on tape to compensate for poor cutting-in. A steady hand, quality brush and careful application around edges create the crisp lines people notice.
Apply paint in a controlled order
Once the room is prepared, work from the top down. Paint ceilings first if they are included in the project, followed by walls, then doors, frames, skirtings and other trim. This order prevents fresh wall paint being marked while completing overhead or detail work.
Cut in around edges with a quality brush before rolling the main wall area. Keep a wet edge while rolling, working in manageable sections so lap marks do not appear as the paint dries. Two coats are usually needed for an even, durable finish, especially when changing colour or painting over repaired areas.
Do not rush recoating. Paint that feels dry to touch may not be ready for another coat. Follow the manufacturer’s drying guidance and allow extra time in cool or humid conditions. Adelaide’s weather can still affect drying indoors, particularly in poorly ventilated buildings.
Between coats, check walls from different angles. Side lighting can reveal roller marks, missed patches, drips and uneven repairs that are easy to overlook under direct light. Fixing these details before the final coat is far easier than returning after furniture has been moved back.
Manage disruption, safety and clean-up
A workplace painting job needs more organisation than a spare-room refresh. Keep walkways clear, manage access to wet-painted areas and clearly identify any rooms that are temporarily out of use. If the office has customers, patients or contractors coming through, the work zone should be tidy and separated from public areas.
Ventilate rooms by opening windows where safe and practical, and use fans only where they will not blow dust onto wet paint. Keep paint, tools and drop sheets contained at the end of each shift. Nobody wants to start the next workday stepping around ladders, open tins or dust sheets in the hallway.
After painting, remove masking tape carefully before the paint fully hardens, reinstall fittings once surfaces have cured sufficiently and carry out a final inspection in normal lighting. The final clean should include removing rubbish, vacuuming or sweeping dust, wiping down nearby surfaces and leaving the office ready to use.
When professional office painters are the better option
A small, empty office with sound walls may be manageable for an in-house team or capable DIY painter. The trade-off is time. Staff can spend far longer than expected moving furniture, fixing wall damage, cutting in around fittings and correcting uneven areas.
Professional help makes more sense when the premises are occupied, the work must happen outside business hours, walls need repairs, or the finish needs to reflect well on the business. It is also the safer choice for larger sites, high ceilings, detailed trim, recurring maintenance programmes and projects with a tight handover date.
Shine Painters Adelaide handles office painting from surface repairs and colour guidance through to careful application and final clean-up. With experienced, licensed and insured painters, the focus is on a tidy job, honest advice and a finish built to last rather than a quick coat that needs attention again soon.
A freshly painted office should make the space easier to work in and more reassuring for the people who walk through the door. Plan the job around your operations, prepare surfaces without shortcuts and choose finishes that can handle real working life – the result will keep looking good well after the paint has dried.